Non-contact pen
A first look. Finds live cables and broken conductors. Never the last word.
Chest pocket and pouch
Three testers earn a place in the pockets. Each answers a different question, and only one of them proves a circuit dead.
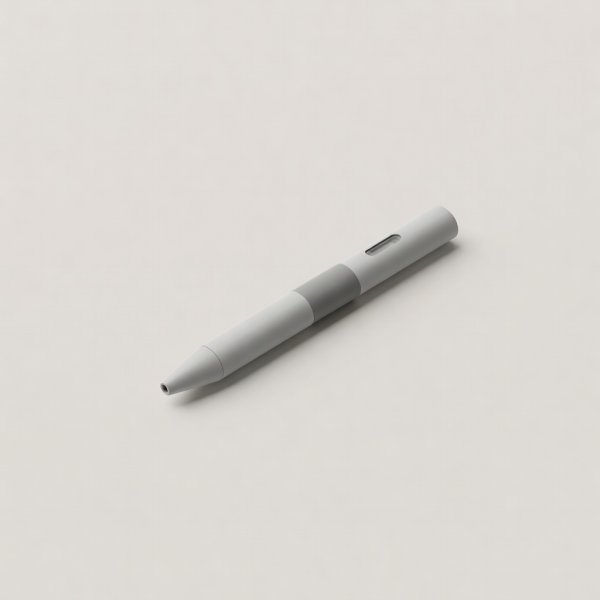
A first look. Finds live cables and broken conductors. Never the last word.
The proving tool. Simple output, shrouded probes, built for isolation.
For numbers: control voltages, continuity, a quick reading.
Meter notesA non-contact voltage tester answers one question: is there an AC electric field near this conductor? A two-pole voltage indicator answers a different one: is there a dangerous voltage between these two points? Mixing them up is how people get hurt. In the pocket map, the pen lives in the chest pocket because you reach for it all day. The two-pole indicator lives on the pouch edge, close enough to grab but never confused with the pen.
Use it for a first look: tracing which cable in a back box is live, checking a socket before you pull it off the wall, finding a broken conductor in a flex. Run it past a known live source before every use so you know it still sounds. Learn its limits. Screened or armoured cable, a tester held at the wrong angle, a weak battery or a deep back box can all hide a live conductor. A silent pen is not a dead circuit. The Fluke 1AC II VoltAlert and the Klein Tools NCVT-3 are common examples of the type. Both are fine as a first look and neither is a proving device.
Safe isolation under the Electricity at Work Regulations 1989 depends on proving, and the HSE's GS38 guidance describes what suitable test equipment looks like. Look for shrouded probes with no more than 4 mm of exposed tip (2 mm where practicable), finger barriers, and fused leads if the instrument is a meter. A dedicated indicator such as the Fluke T150, or a Martindale voltage indicator used with its proving unit, is built for this job. The output is simple, there is no range switch to get wrong, and the casing is made for site knocks.
Follow your procedure. Your employer's safe isolation procedure comes first. IET Guidance Note 3 and Electrical Safety First both publish widely used versions. This page is information, not training.
A compact meter such as the Fluke 101, which is rated CAT III 600 V, earns its place when you need a number: a control voltage, continuity through a lamp circuit, a reading across a capacitor. It can prove dead when it has leads that meet GS38. Most crews still keep the two-pole indicator for isolation, because a dial left on the wrong range is a risk a fixed indicator never carries. Treat the meter as the thigh-pocket tool for diagnosis and the indicator as the pouch tool for isolation.
The brand names above are examples of the category, not endorsements. Whatever you carry, check it before each job and again if it has been dropped. A tester you have checked is worth more than a tester with a better badge.
Your privacy choices We use necessary cookies to run the site and, with your consent, optional ones to measure visits. You can change this at any time. Cookie policy